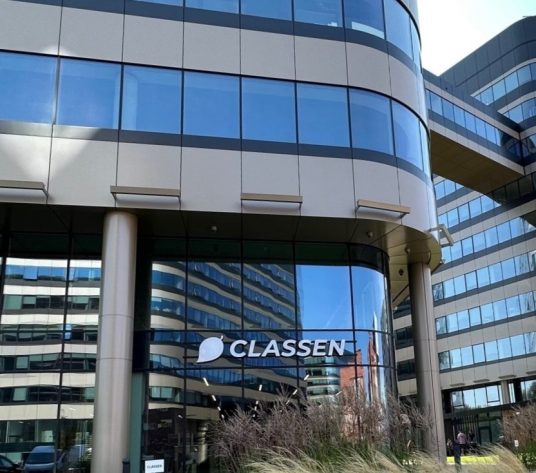
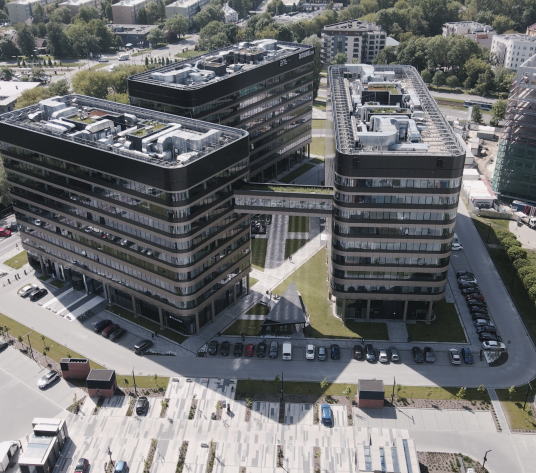
Centrum Kompetencji Classen
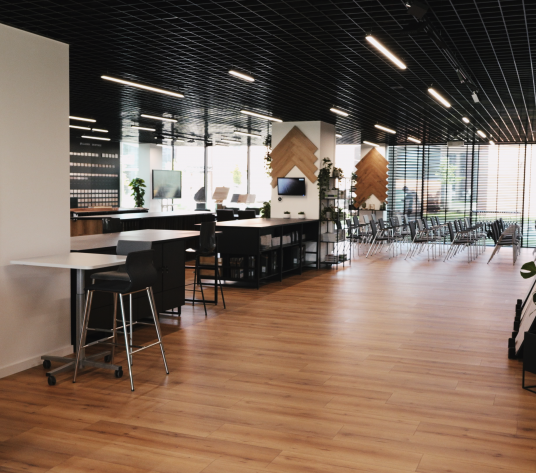
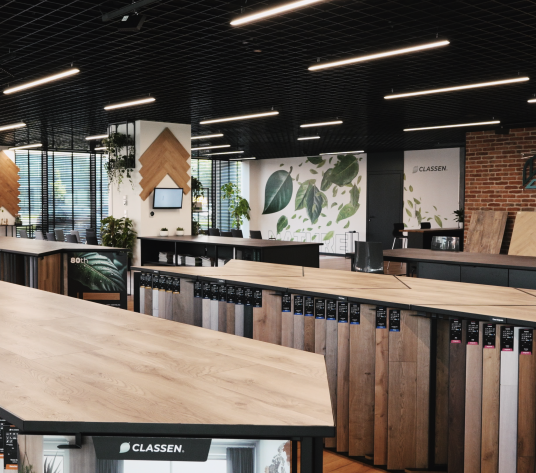
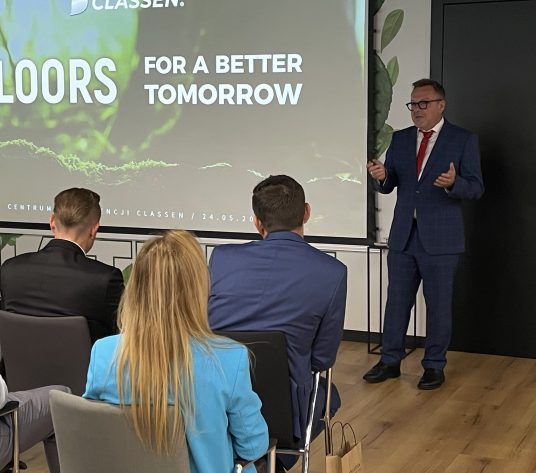
Showroom. Miejsce spotkań. Świat podłóg. Centrum szkoleń i zdobywania wiedzy. Profesjonalizm. Kuźnia designu.


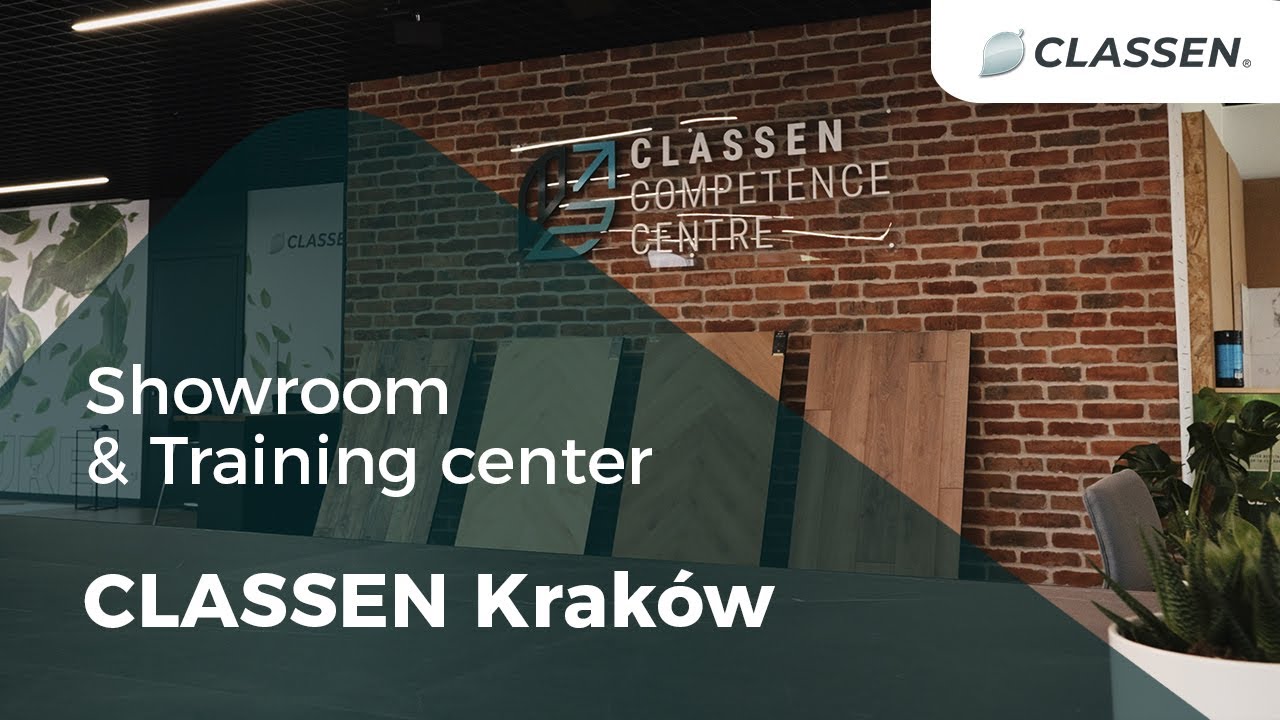
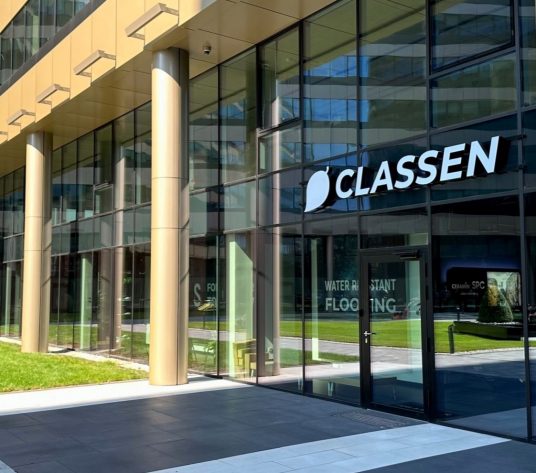
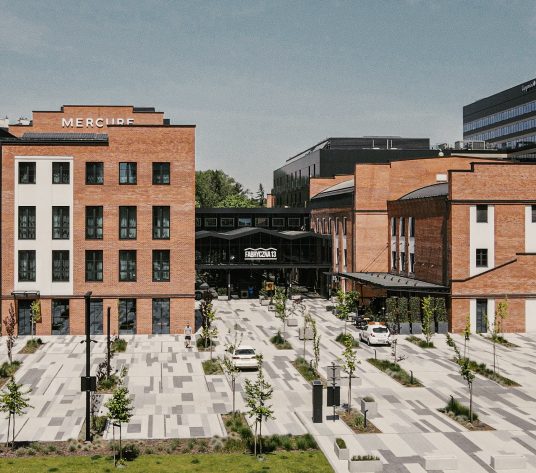
 Centrum Kompetencji Classen w Krakowie to wyjątkowe miejsce, które łączy w sobie funkcje salonu, Showroomu i centrum szkoleniowego.
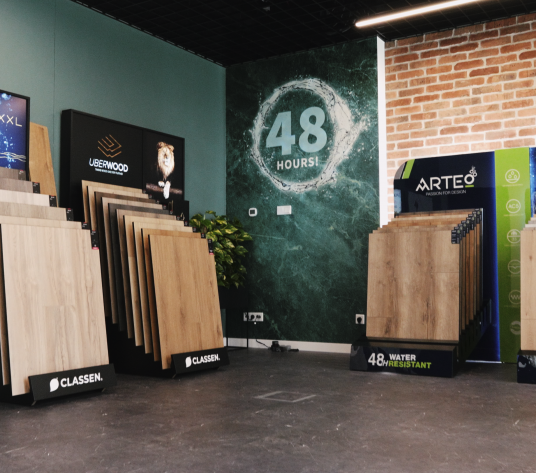
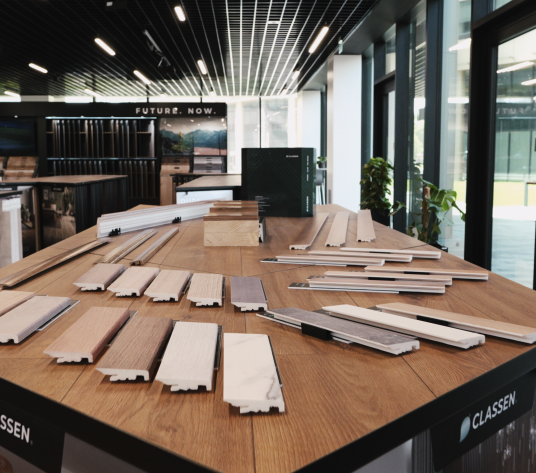
To idealna przestrzeń dla klientów, gdzie mogą poznać i zobaczyć nasze innowacyjne podłogi, a także wszystkie dostępne w ofercie kolekcje oraz dekory. W Centrum Kompetencji Classen organizujemy również szkolenia, aby dostarczyć klientom wiedzę na temat naszych produktów i najlepszych praktyk ich instalacji. Zapraszamy do odwiedzenia naszego Centrum Kompetencji i odkrycia szerokiej gamy podłóg, które idealnie pasują do różnych stylów i wnętrz.